It's bulb planting season, and in the rush of getting all your spring bulbs in the ground it can be easy to forget where each of them are. This is especially the case if you're creating a layered, mixed bulb display and don't have all of the same bulbs in one place. While it might not seem like a problem now, you might find yourself scratching your head trying to locate the empty spaces for other plants.
It's such a simple task on the fall gardening checklist but marking your planted spring bulbs is essential. Failing to do so could result in accidentally disturbing bulbs, forgetting to provide them with winter and pest protection, and ultimately sabotaging your display come spring. It can be as easy as using plant labels (like these slate and chalk plant labels from Amazon) or you can opt for something more subtle, like marking the spot with rocks or even making a garden map.
So, as you work through your bulbs (make sure to also stock up on essential bulb planting tools), don't forget to take a moment to note down their location. Here, we explore a few different ways to do it.
1. Use Plant Labels
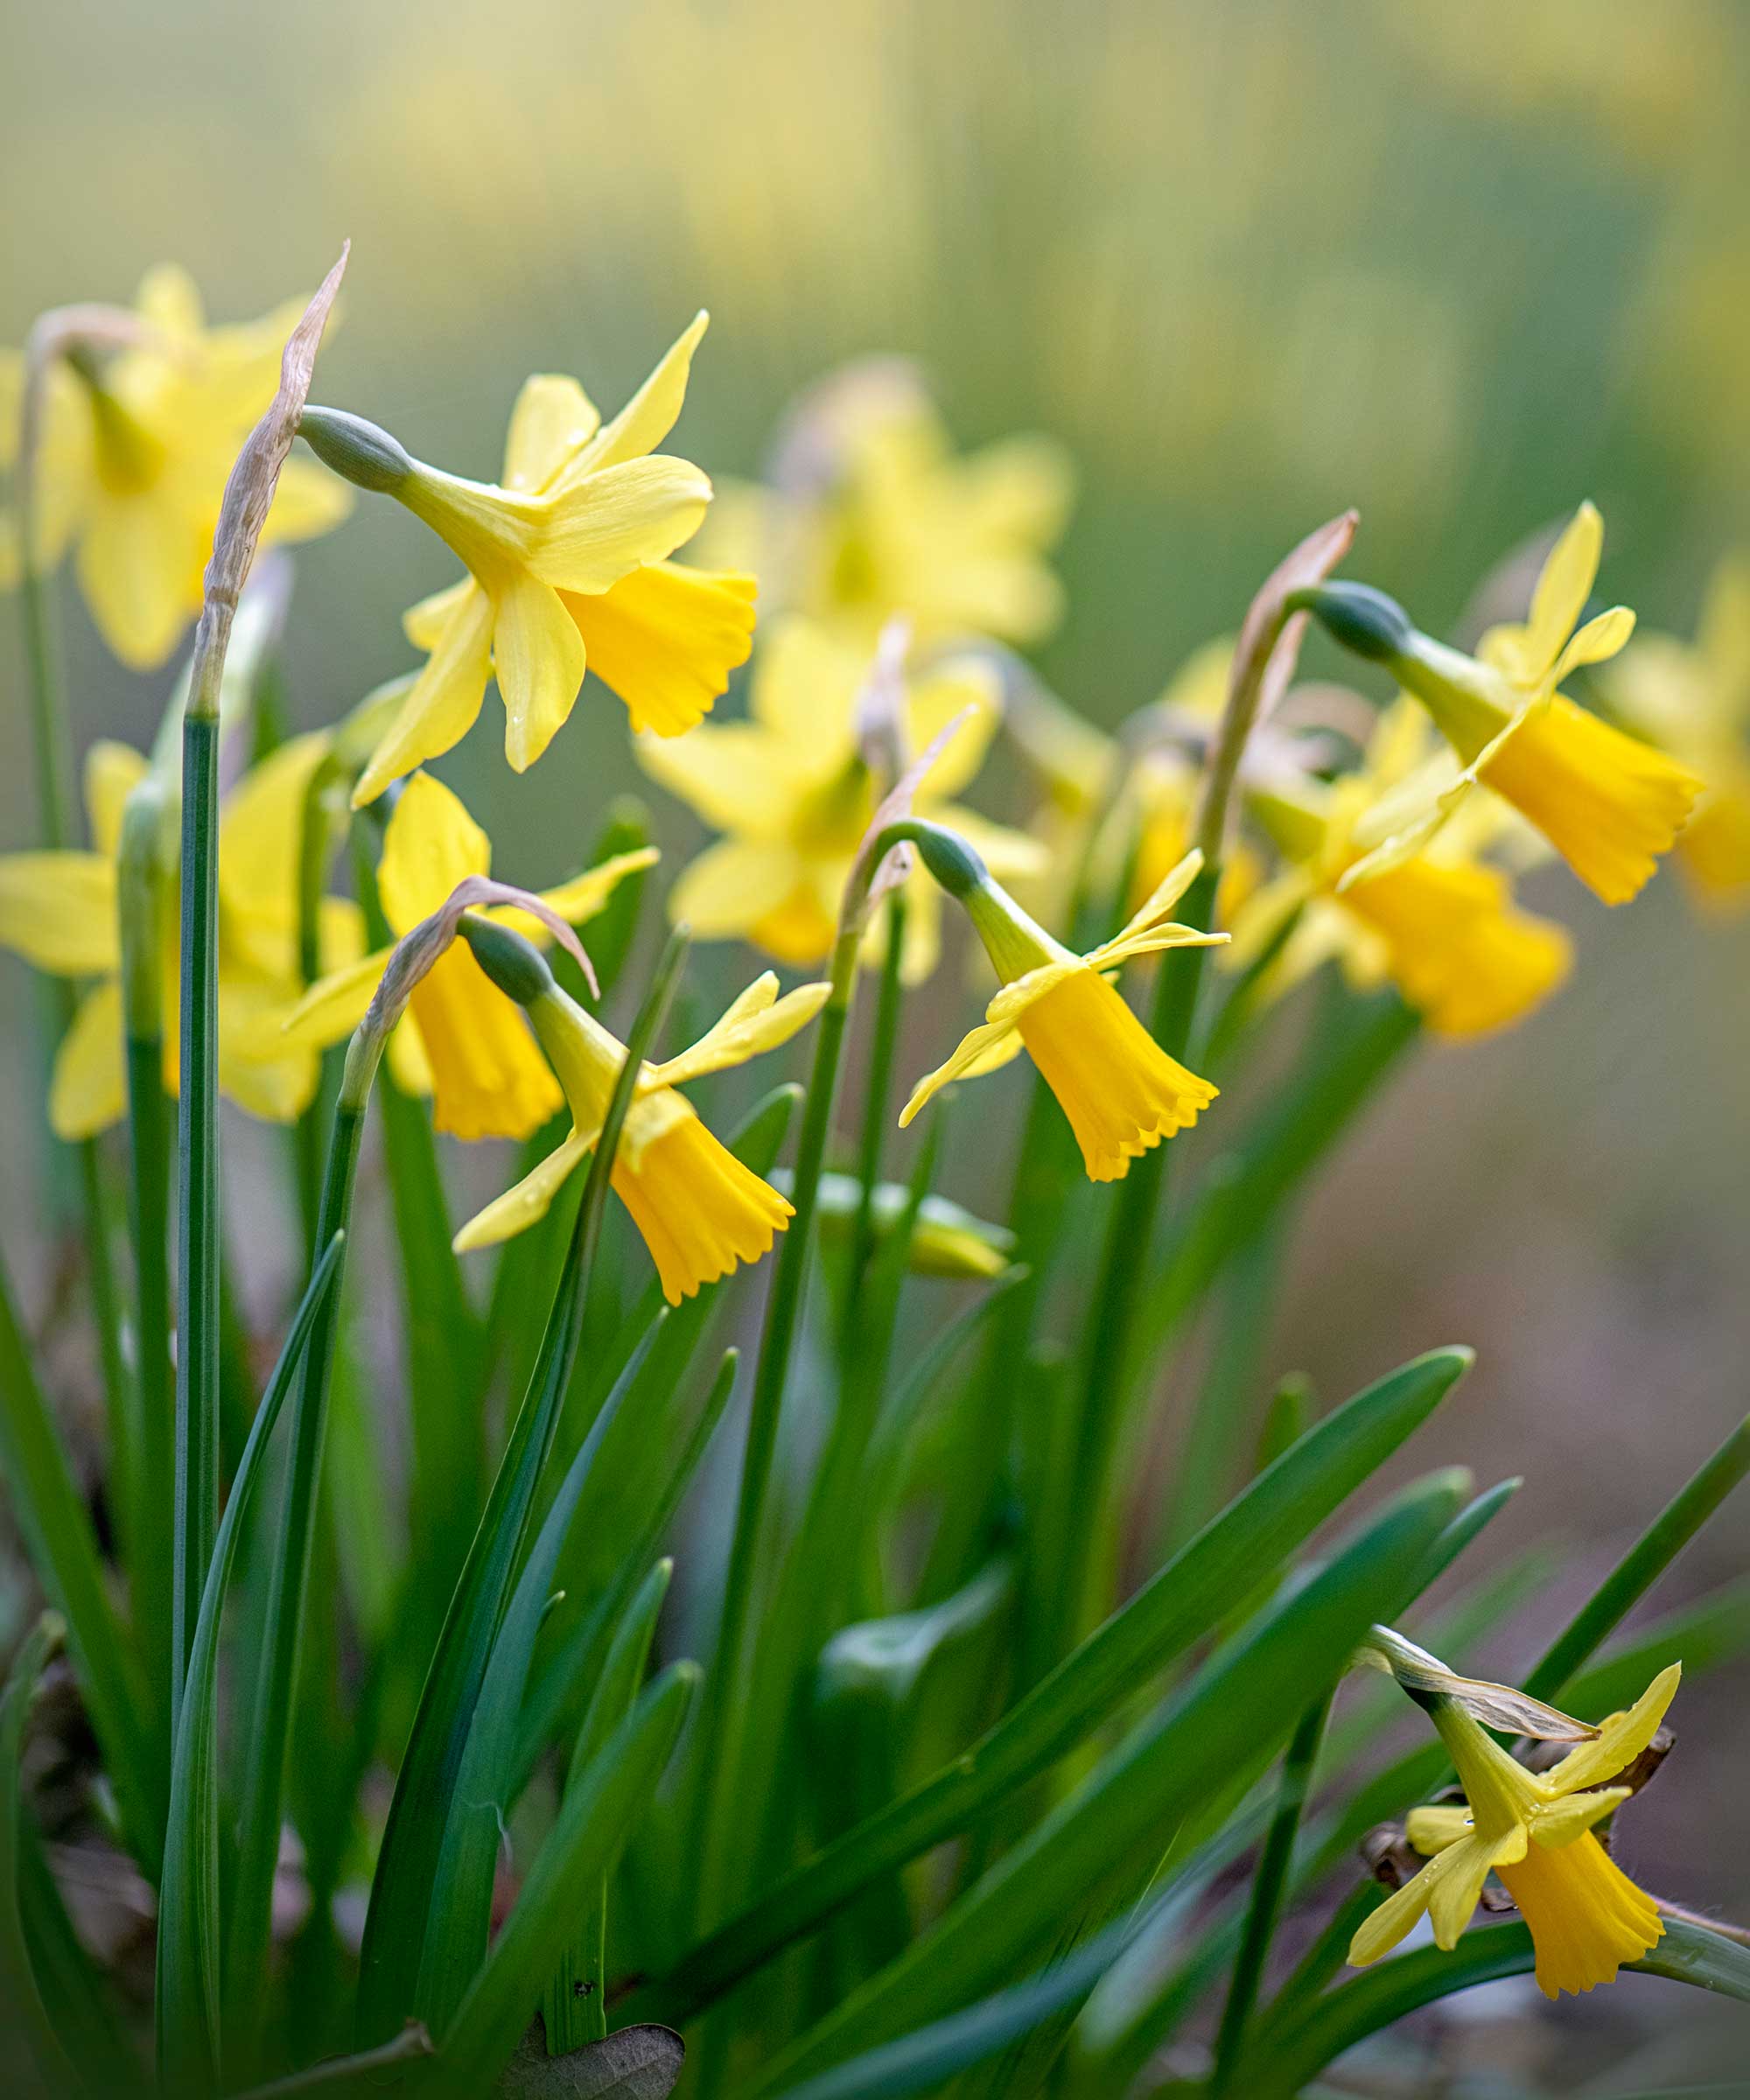
The easiest way to remember where you planted spring bulbs is by using plant labels. You can write down daffodils, tulips, hyacinths, and more and pop the label in the ground next to their location.
The best part about this method is there are so many different types of plant labels to choose from. For example, slate plant labels (also available at Walmart) will blend into the natural landscape, or if you want to make it more noticeable opt for these copper plant labels from Amazon. You could even use labels from the bulb packets, which will give you more information on the exact varieties.
You can also DIY your own plant labels, such as popsicle sticks (you can purchase a pack from Walmart) or by writing on rocks and wood from the garden. This is one of the best ways to make labels that blend into the garden's natural landscape.
When it comes to lifting bulbs after the flowering season, you can refer back to the labels to locate the ones you're looking for. This will ensure no tender bulbs are left in the ground in winter, saving your display the following year.
Design expertise in your inbox – from inspiring decorating ideas and beautiful celebrity homes to practical gardening advice and shopping round-ups.
2. Use a Natural Marker
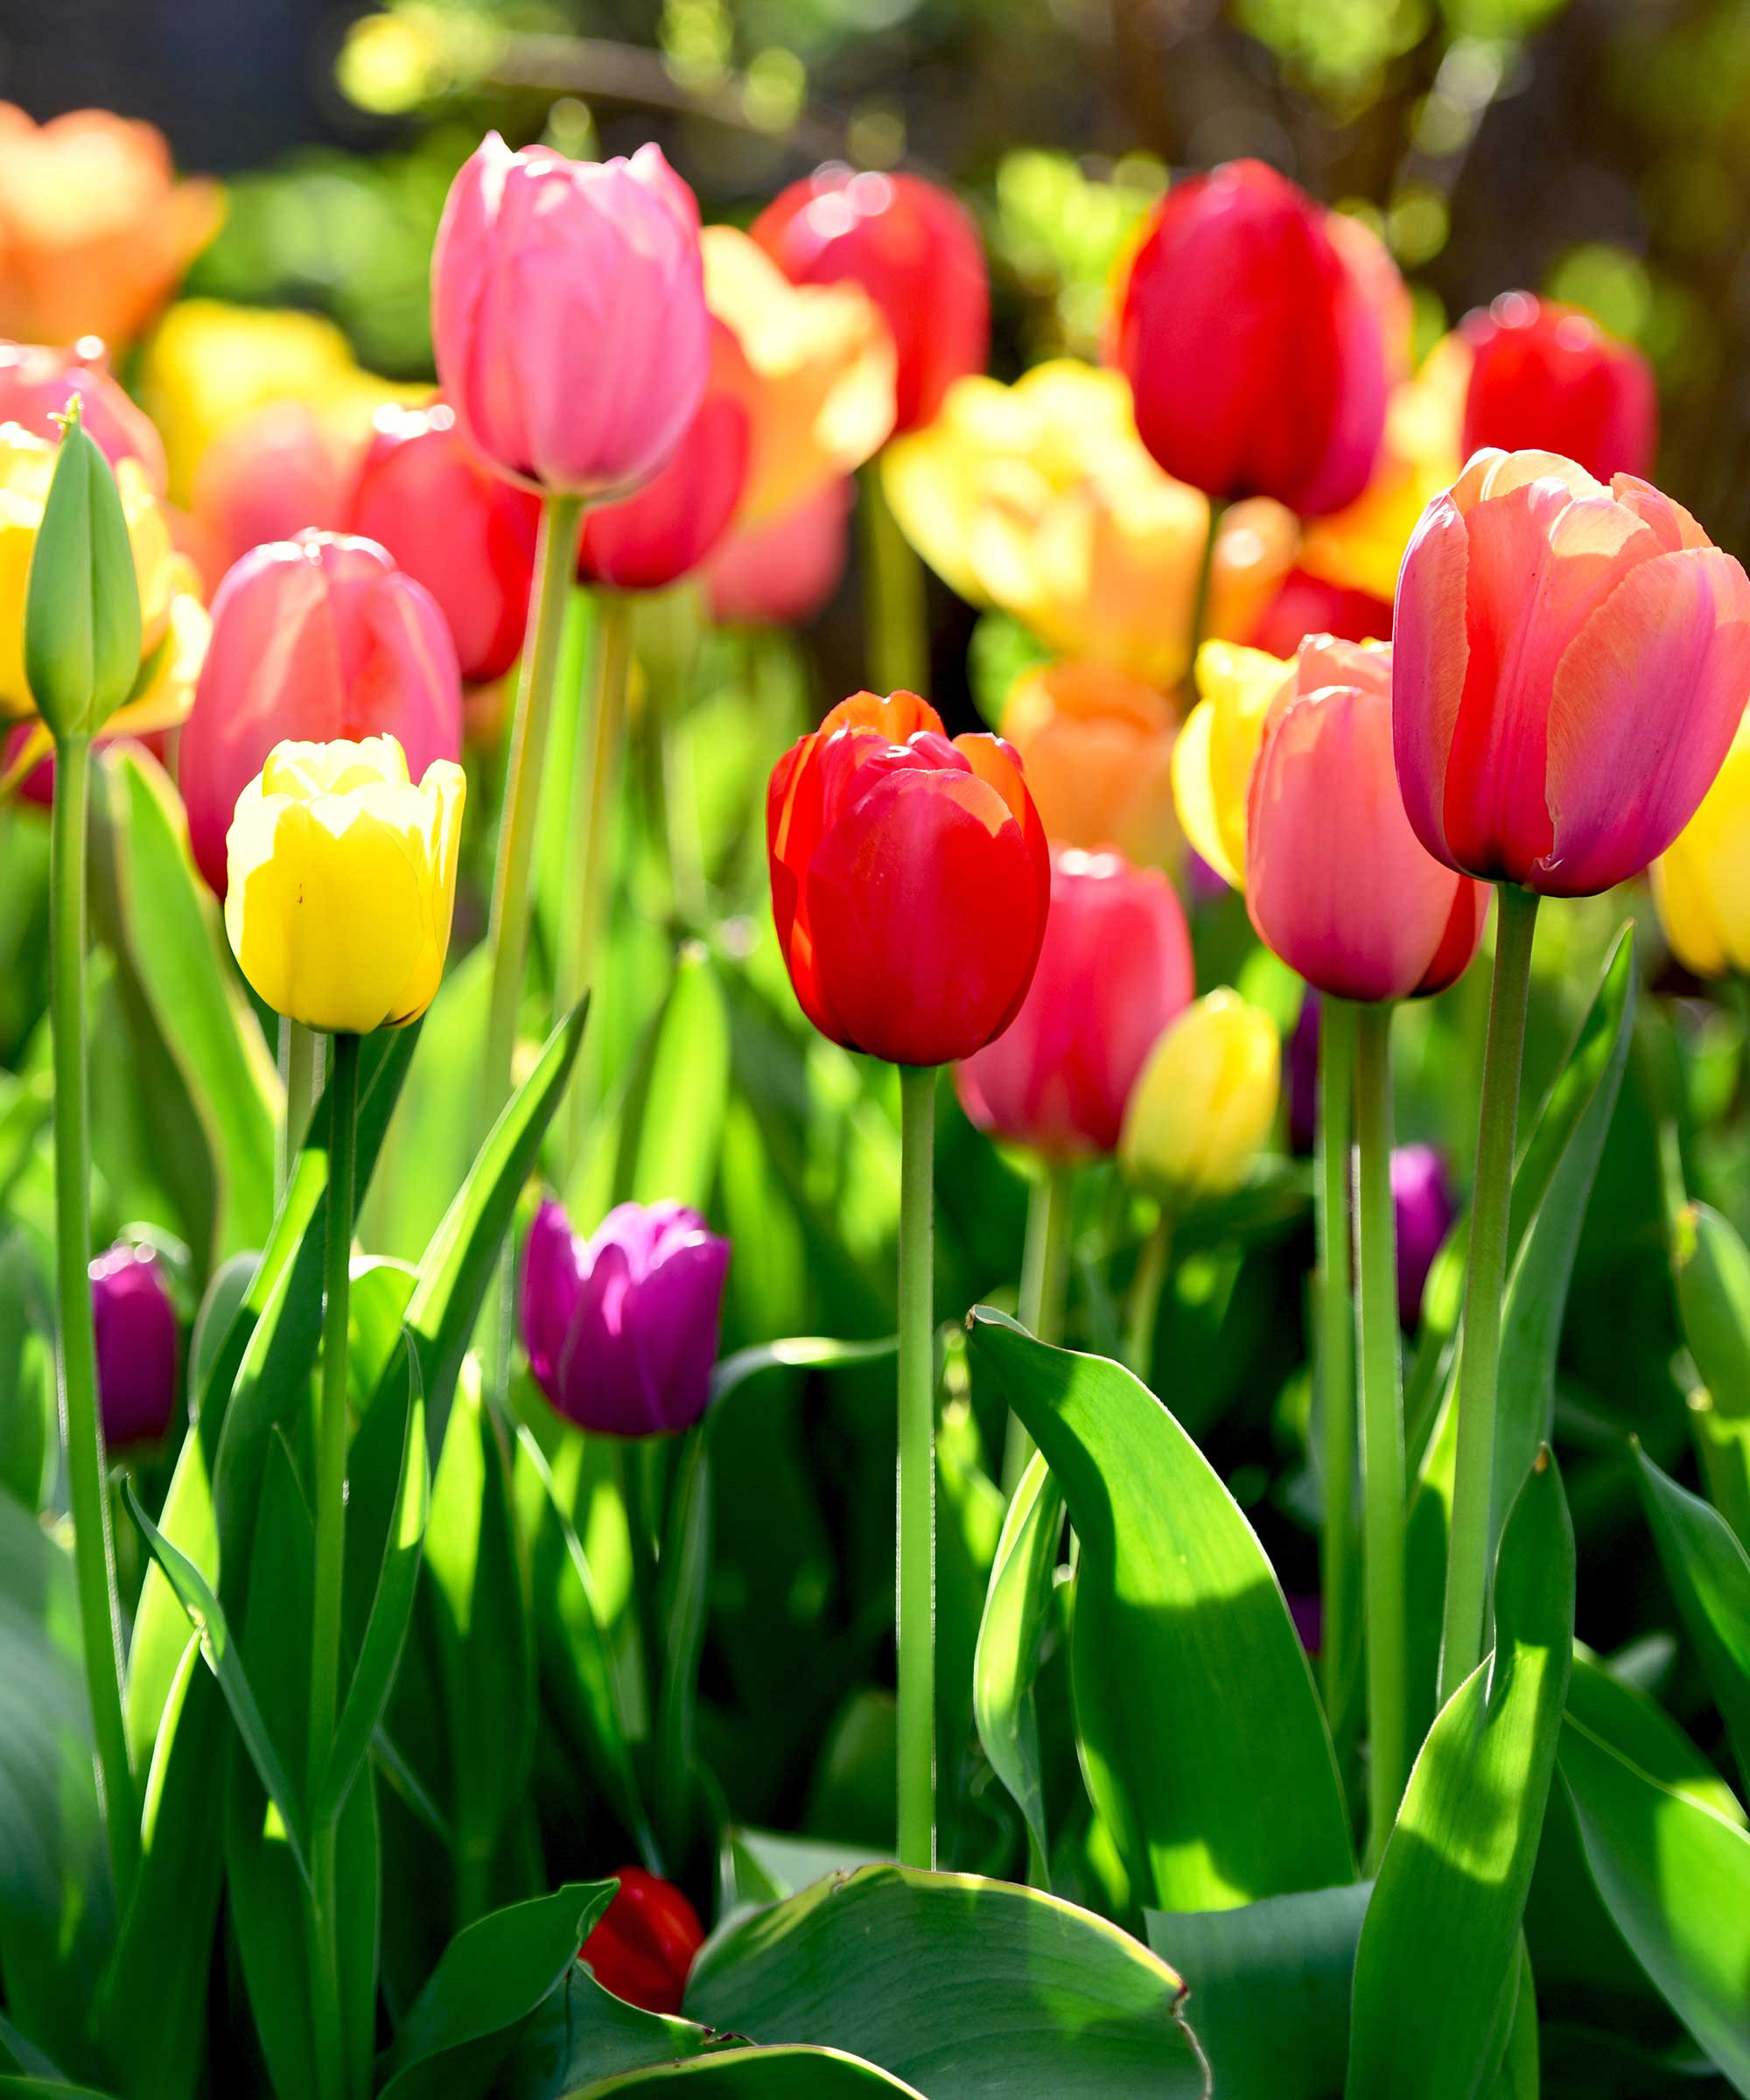
If you're not keen on having lots of plant labels sticking up out of your flower beds and rather need something more subtle, you can use natural markers and landmarks to remember where you planted spring bulbs.
It can be as simple as placing a specific rock in the location of your daffodils, or noting down the tulips are a certain number of footsteps away from your garden fence.
You could even use different colors to paint an 'X' on the bottom of rocks for different bulbs. They should be weighted enough not to move in the wind and adverse weather of winter. Pick up a pack of paint from Amazon.
This is a much less obtrusive way to put a physical marker in place for your spring bulbs, without having to sit through a winter of a bare border with lots of labels sticking up.
3. Create a Garden Map

This method to remember where you planted spring bulbs works best for the most layered planting, larger spaces, and if you planted big drifts of bulbs and need to mark where it starts and ends.
You can create a garden map in several ways – draw it out in a garden journal (this one from Amazon has a beautiful floral design), or create a digital garden map to refer to on your phone as you walk through the yard. You could even put pin drops on the exact location of your bulbs.
It can be useful to categorize bulbs with their own color for easy reference when looking at your garden map. This visual cue can also make it easier to learn where different bulbs are over time.
To take it a step further, you can photograph different areas to attach to your garden map and keep a record of the different planted areas, so there's no mistaking where your bulbs are if your map later proves hard to read.
Even if you planted bulbs in a pot using the bulb lasagna method, you can draw a cross-section of the planter and label the different layers of bulbs.
What to Shop
As you work through your bulb planting this October, watch out for the common bulb planting mistakes that can hinder your success. This includes planting at the wrong depth, too close together, or in the wrong kind of soil.
If you love inspiring garden ideas, outdoor advice, and the latest news, why not sign up for our newsletter and get the latest features delivered straight to your inbox?